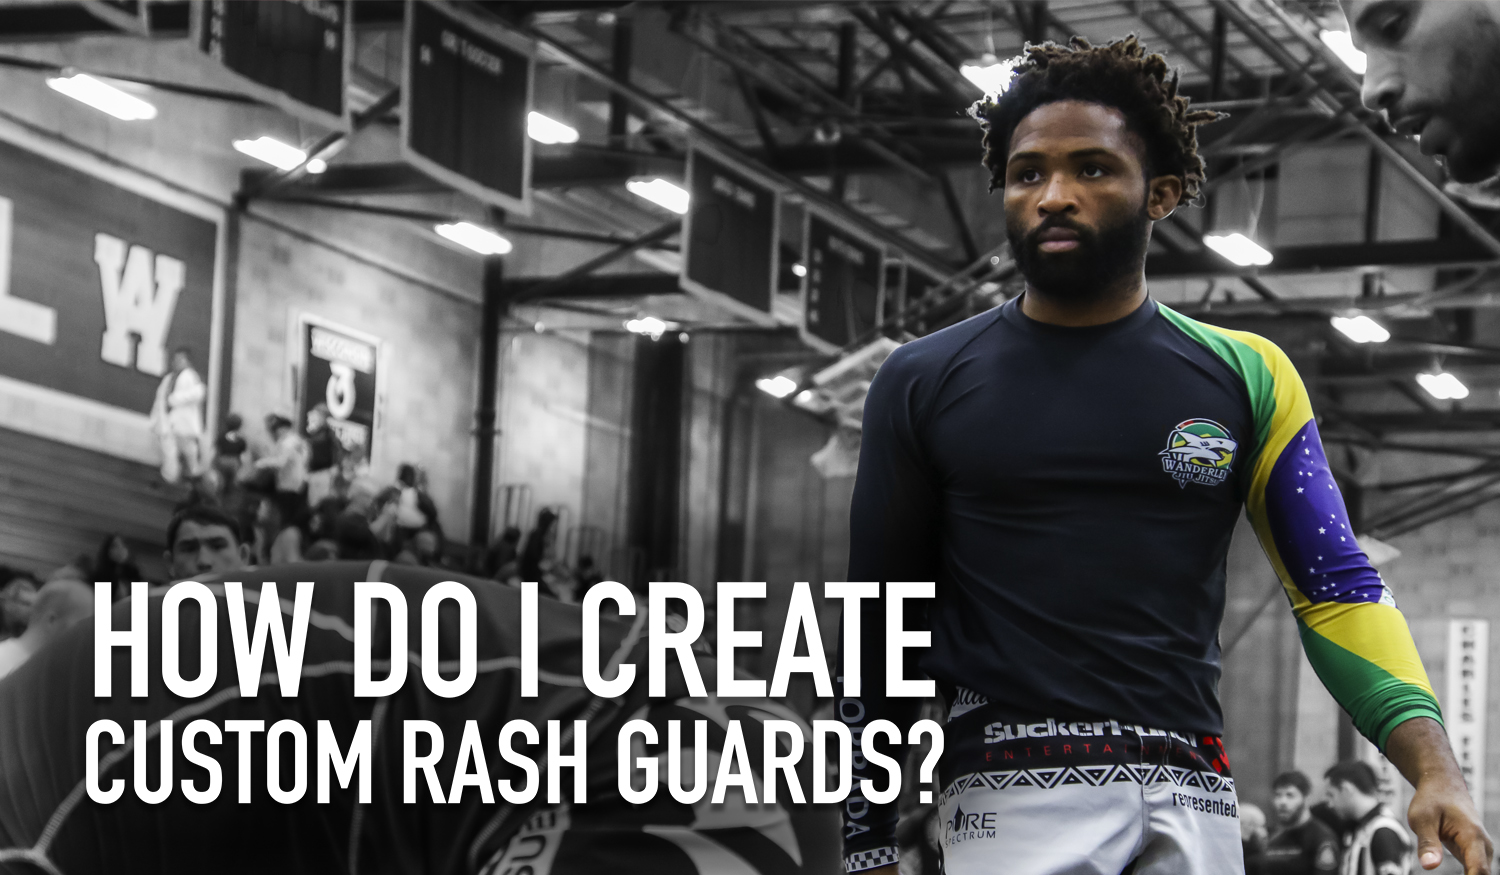
At Combat Corner we have been at the custom apparel game for a long time. More specifically the super popular custom rash guard game. Every week I have gym owners ask me “How do I get custom rash guards for my gym?” And of course, we can produce custom rash guards for you and we have four steps to follow to create custom rash guards with less stress that you and your members will LOVE.
Step 1: Have a Plan
People often start their search for custom rash guards or custom shorts with “I want rash guards and shorts!” They know there is a need to be met but don't have the time or ability to do design work themselves. First things first, ask yourself the following - What are these custom items for? Are these for a specific competition or are these a way to promote your gym lifestyle? What is important to ME? Please note that making rash guards competition legal will limit your design. Having a simple answer to those questions will help narrow down your design.
Step 2: Be Specific
The more specific you are with your instructions, the better experience you will have. Imagine if someone asks you to sing a song right there on the spot. You pause. Then they say "you know, a cool song". Difficult right? Now imagine if someone asks you to sing Happy Birthday. No problem. It gets much easier, leaving everyone happier when you’re specific. I hear all the time “I’m not an artist!” That’s fine. Yet, you do have your own style and you know what YOU think is cool. Be prepared with examples of things you’ve seen that you DO like and the process should be much smoother. If you end up spending a lot of time going back and forth with an artist, making your custom design becomes a chore. That chore-like feeling can make you hesitant to reorder even if the apparel was a hit. If the process is simple, clear and specific you will be decked out in new designs you love in no time!
Step 3: Have Your Art Ready
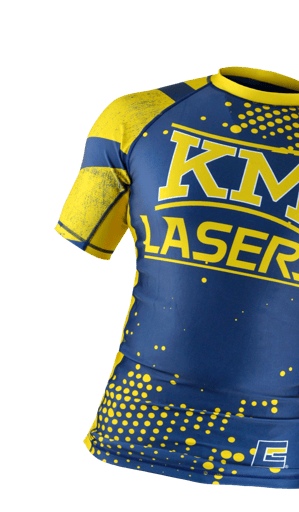
Combat Corner uses DYE SUBLIMATION as the printing process to create your custom rash guards. Dye sublimation is a great way to produce a full color product with photo realistic qualities. When using this type of printing process the graphic designer doesn’t HAVE to change anything about your art, they can print “as is.” The better the art file you submit, the better the final product will be. This is where it gets a little technical.
There are two types of art image files you can use to submit your design.
- RASTER image file made a pixels.
- VECTOR image file made of mathematical nodes or points.
A RASTER image is like the one you take with a camera or find in a Google search, these will print as is. If you zoom in and it's blurry, that's because there are less pixels per inch and it's a lower resolution image. We always recommend the highest resolution possible (typically above 1000x1000 pixels). With file extensions such as .jpg, .png, or .tiff.
A VECTOR image on the other hand is infinitely scale-able to any size without losing any detail and never getting blurry. It's always clean and crisp due the software program it's created in. With file extensions like .pdf, .ai, .eps or .svg. Vector file types are always ideal, but we can work with you to create the rash guard of your dreams.
Step 4: Run a Pre-Sale
Once you have your design finalized, do a pre-sale as a way to gauge interest and forecast what sizes will sell, not to mention lower your out-of-pocket cost. Take into consideration that Inevitably people (especially parents) will order the wrong size on accident or miss the pre-sale entirely. Be sure to order extra to avoid this issue. Imagine a new student joining your school, excited to learn, but it's week after the pre-sale ended. You wont be doing a new order for a while so they're out of luck. The easiest rash guard to sell is the one on the shelf.
